
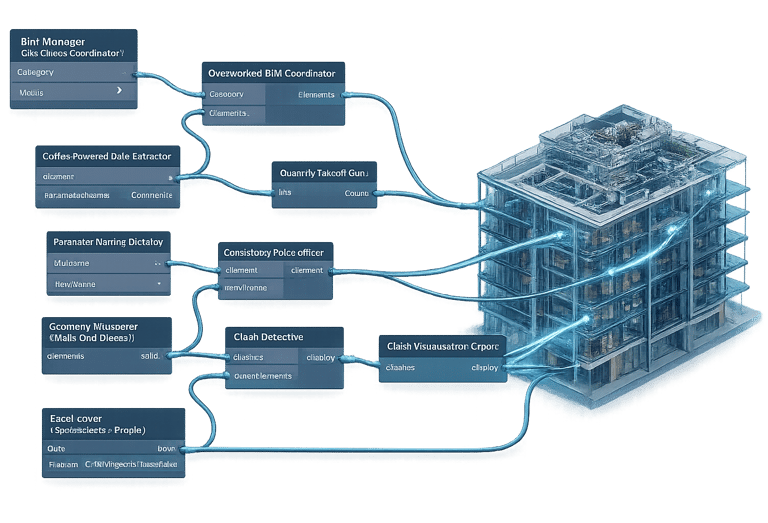
My approach has always been problem-driven. I use Dynamo to solve real BIM coordination and production challenges encountered on live projects. Every script I create is fully customised to solve a specific problem—not simply to automate a task.
I have never claimed to be a Dynamo professional, and I don't believe anyone ever truly stops learning. Every new challenge brings a new lesson, and every script feels like a new creation.
My journey began through self-learning, followed by countless hours of experimentation, guidance from experienced BIM professionals, and exploring the Revit API, Autodesk documentation and community resources. Even Google plays its part—because no one can know every package, node or API method available.
Today, I'm expanding my knowledge by learning intermediate Python to work directly with the Revit API, allowing me to build more advanced and scalable BIM automation solutions.


Dynamo
The scripts shared here represent my continuous learning journey and my passion for solving everyday BIM challenges through practical automation.
CrossLinkExtractor

This tool allows users to select a linked Revit model and filter its elements by category (walls, ceilings, roofs, etc.), with additional filtering options by level, spatial location, or specific parameters/specifications. Selected elements are then copied into the current document at their exact original position. This replaces the manual copy-paste workflow, which is inefficient and error-prone for multi-element selections — particularly since an accidental deselection (e.g., clicking elsewhere in the model) forces the user to restart the entire selection process.
Category-based filtering (walls, ceilings, roofs, etc.)
Level-based filtering
Parameter/specification-based filtering
Spatial/location-based filtering
Batch element transfer with position accuracy preserved
A Dynamo automation script that extends every wall in the project from slab to slab in a single bulk operation. Where a downstand or upstand exists, the wall stops at that level instead of continuing to the flat slab. Where a beam is present, the wall stops at the beam instead of extending past it. Removes the need for manual top-constraint checking wall-by-wall, running across the entire model in one automated pass.
Key Capabilities
Wall-to-Slab Extension with Downstand/Upstand Detectio

This is a three-stage automated workflow for processing MEP placeholders into fully coordinated BWIC (Builder's Work in Connection) openings within drylining walls.
BWIC Suite / BWIC Pipeline
This script scans the MEP model and identifies all placeholders, classifying them by host condition — distinguishing those associated with slabs from those associated with walls. Since placeholders are not wall-hosted and some are freestanding/floating in space, direct detection is unreliable; the script instead applies a defined clearance tolerance to accurately capture wall-adjacent placeholders. Once identified, each placeholder is replaced with the corresponding BWIC family, hosted in the correct wall, while preserving the original S/O (Structural Opening) height and width from the source placeholder.
Script 1 — Placeholder Detection & BWIC Placement
This script calculates each BWIC family's distance to the slab and evaluates it against a user-defined "no-go zone" threshold. Where a BWIC falls within this no-go zone, the script automatically converts it to a 3-sided frame configuration to suit the proximity condition. The no-go zone value is fully configurable, allowing the tolerance to be adjusted per project or package requirement.
Script 2 — No-Go Zone Detection & 3-Sided Conversion
Script 3 — Stud Extension (Slab-to-Slab)
This script extends all studs associated with the BWIC framing from slab to slab, ensuring full structural continuity of the surrounding frame once the opening has been placed and configured.
MF Ceiling Auto-Framing
A Dynamo automation script that scans the entire project for MF ceilings and automatically places the MF channel framing inside each one — no manual clicking or per-ceiling setup required. MF5 and MF7 channel offsets are configurable inputs, allowing the offset to be set based on the specific ceiling buildup rather than fixed defaults. Runs in bulk across the whole model in a single pass, turning a task that would normally take hours of manual channel placement into an automated one.

Will be published soon......

Get in touch
Address
London, UK
Contacts
07990700594
khalilsenhadjicad@gmail.com